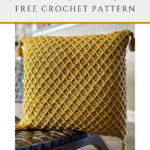
Diamond Pillow Cover: Free Crochet Pattern
This post may contain affiliate links, meaning that I may earn a small commission if you make a purchase. See our disclosure policy for more information.


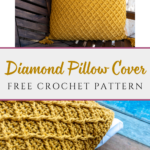
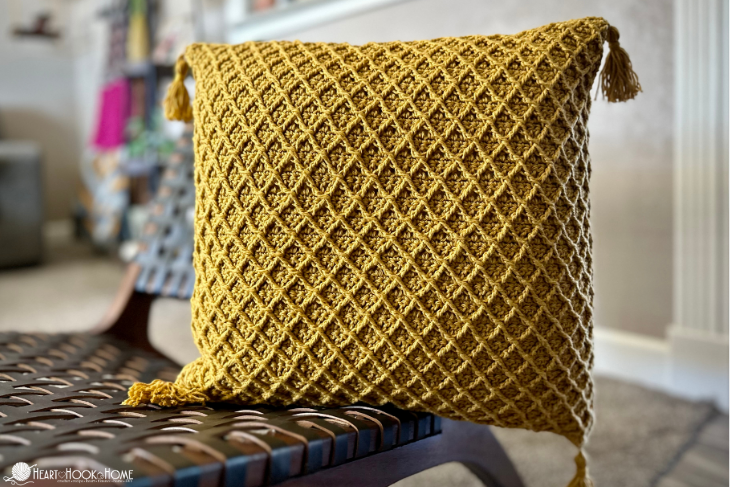
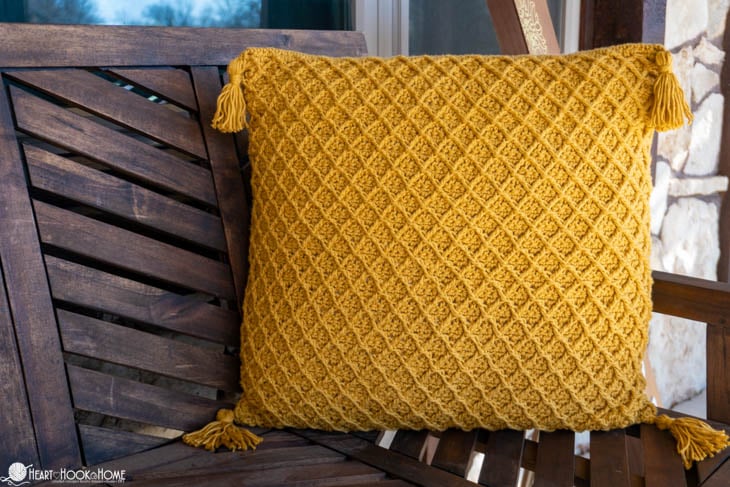
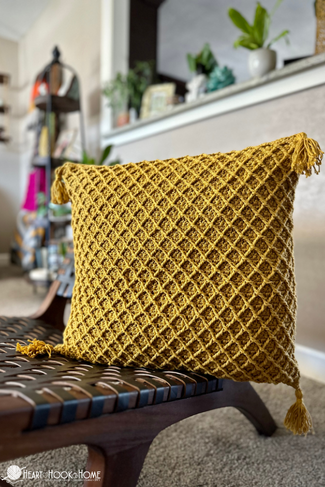
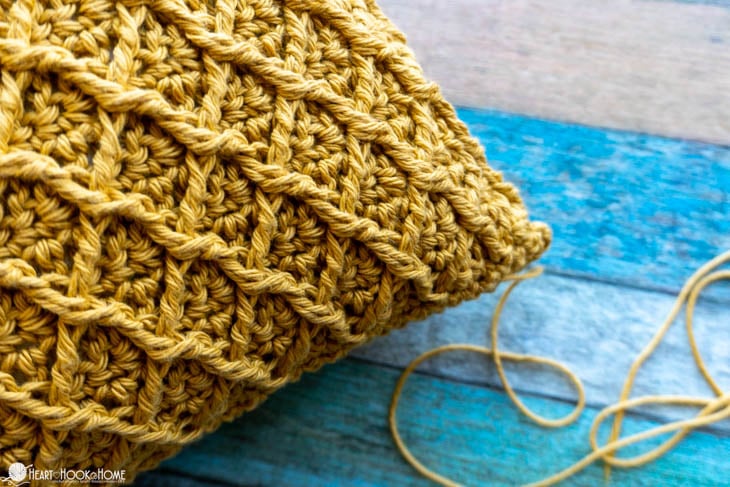
Have you been looking for a crocheted pillow cover that will make a statement piece? One that has texture and will amaze your guests when you tell them that you made it? Well my friend, you are in luck! Make this new and free Pillow Cover crochet pattern featuring the Diamond Stitch. I absolutely love the little diamonds that this stitch makes and I know you will too!
Diamond Pillow Cover: Free Crochet Pattern
While I have made a few patterns with this textured crochet stitch, the Diamond Cloth in Three Sizes and the Girl’s Best Friend Crossbody Purse, I couldn’t get it out of my head that this stitch would look so gorgeous as a modern Pillow Cover.
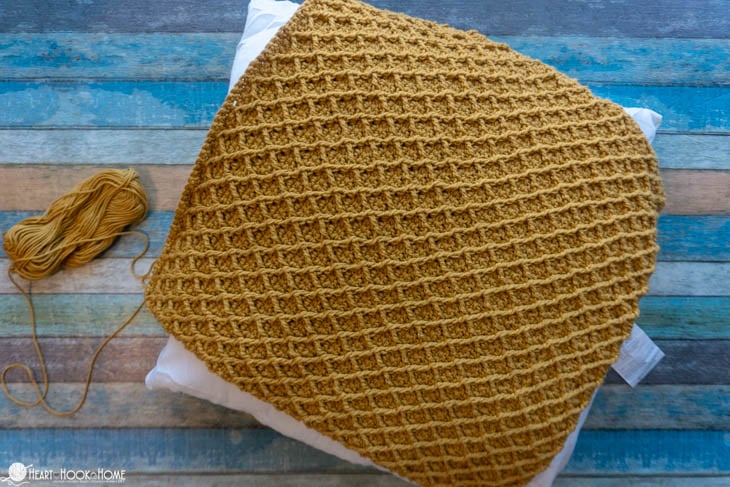
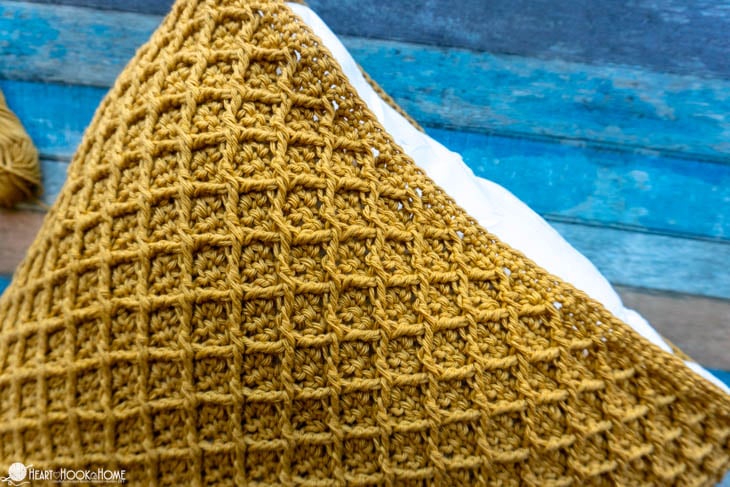
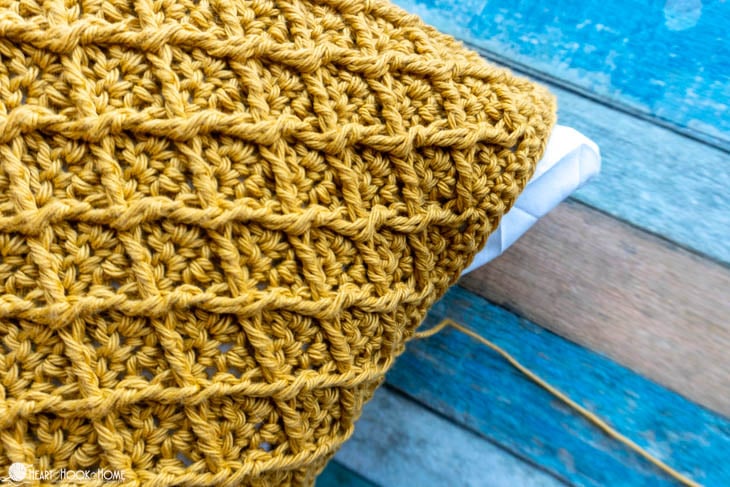
The diamond stitch gives an amazing texture and depth, and isn’t too awfully difficult to master. Once you get the rhythm of the stitch set down you’ll be done in no time.
I love that I can spruce up an old throw pillow with this pattern. Want to change up the color scheme in your living room? Make some new pillow covers! Easy peasy to switch things up, and practically free if you’re using stash yarns.
What is the best yarn to use for a Pillow Case? The most common yarns used for pillow covers are ones that are easy to wash, such as acrylic and cotton. You also want one that will hold it’s shape over time and not pill. I am recommending Dishie Cotton for durability and washability, but Merino Wool is another great option.
What size pillows can you crochet? Just about any size! For this pattern we are using a 20″ x 20″ (51cm x 51cm) pillow insert. If you would like to make a different sized pillow you can find helpful information on resizing the pattern in the pattern notes.
What’s great about crochet pillow covers is that you can easily cover an old pillow to make it look fresh and new. If you don’t already have a pillow in mind, they also have 16″ x 16″ and 18″ x 18″ pillow inserts that would work great!
Can you wash crocheted pillow covers? To take things up a notch, add a zipper so that you can remove the cover and wash as needed. You’ll want to purchase a zipper slightly longer than the width of your pillow, and you’ll want it to be an Invisible Zipper in the appropriate color. Make sure the thread you use matches the yarn so that it blends in.
How do I resize a Pillow Cover pattern? When crocheting a pillow cover you’ll want it to be slightly smaller than the pillow for which it is intended to be used. It needs to be nice and taut so it’s best to have a negative ease (the crochet is smaller than the measurements for which it is intended) of around 2″ (5cm).
If you’re resizing this particular pillow cover, you’ll want to add or remove from the beginning chain in multiples of four.
Ready to make yours? Grab the ad-free, printable version of this pattern on Ravelry, Etsy, or right here in the Heart Hook Home Blog Shop. Thank you!
If you need help reading a crochet pattern, make sure you head over here and check out this detailed post.
Materials:
Worsted weight cotton (Dishie suggested)
-approx. 820 yards (w/o tassels)
Crochet hook in size H/5mm or size needed to obtain gauge
Gauge: 15 sts x 12 rows using Double Crochet (measured on the “wrong/flat side”)
Pattern Notes:
Pattern written using US terms.
This pillow cover uses the Diamond Stitch, which is comprised of double crochets and post stitches. See a full tutorial for this stitch here.
Pattern:
Round 1: Ch-67, 2sc in 2nd ch from hook (mark the first st with a st marker), sc in next 64 sts. 4sc in last chain. Working up the opposite side of chain, sc in next 64 sts. 2sc in same as first 2 sts. Do not join. (136)
Round 2: Do not turn, sc in each st around. (136)
*mark the 3rd st and the 135th st made. These will be the posts used in round 4.
Wanna save this for later?

Round 3: Sl st in next st, Ch-2, turn, dc in each st around. Join to top of first dc with sl st. (136)
Round 4: Ch-1, turn, Fptr2tog using the 135th st from round 2 and 3rd st from round 2, * sc in next 3 sts, Fptr2tog (using same st from round 2, skip 3 sts, and next st from round 2) * repeat between * * 32 more times. Sc in next 3 sts. Join to top of first Fptr with sl st. (136)
Remember, if you need help with this stitch, there is a tutorial for the Diamond Stitch here.

Round 5: Ch-2, turn, dc in each st around. Join to top of first dc. (136)
Round 6: sl st in next st. Ch-1, turn, * Fptr2tog using posts from previous post stitch row (to form a diamond shape as pictured below), sc in next 3 sts * repeat between * * 33 more times. Join to top of first Fptr2tog with sl st. (136)

Rounds 7 – 54: repeat previous four rounds in order. (136)
Rounds 55 & 56: Ch-1, turn, sc in each st around. Join to top of first st. (136)
Finish off with a zipper so that you can remove the pillow cover for laundering by following this tutorial. You could alternately insert the pillow and begin seaming stitch for stitch.
I like to use the Invisible Seam stitch for seaming, but you can also use the slip stitch or the Mattress Stitch if that is your preferred method. Weave in all ends.


If desired, add tassels to each corner. You’re finished!
I hope you love this interesting and gorgeous pillow cover, and that you enjoy crocheting it. Please share a photo with me when you do. Be sure to tag @HeartHookHome across all social media, or share in the Heart Hook Home Crochet Community on Facebook.
More free crochet patterns for the home:
Furry Throw Pillow Cover Free Crochet Pattern
Plastic Bag Holder and Dispenser: Free Crochet Pattern


