Drawstring Pouch Crochet Pattern
This post may contain affiliate links, meaning that I may earn a small commission if you make a purchase. See our disclosure policy for more information.
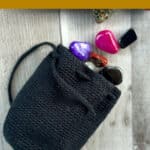


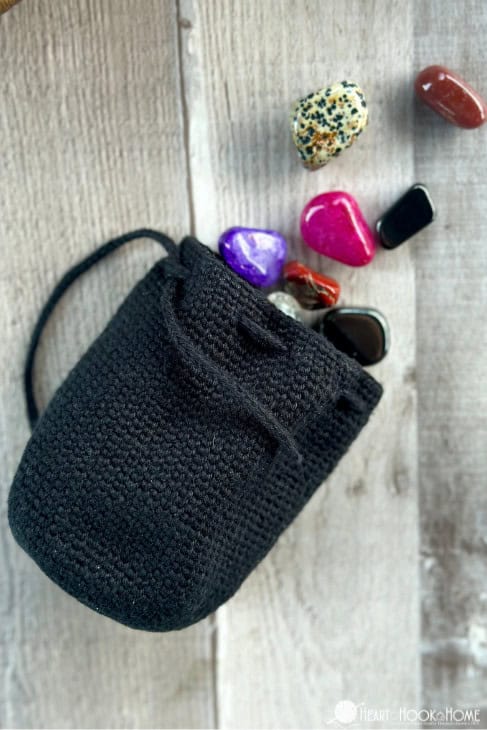
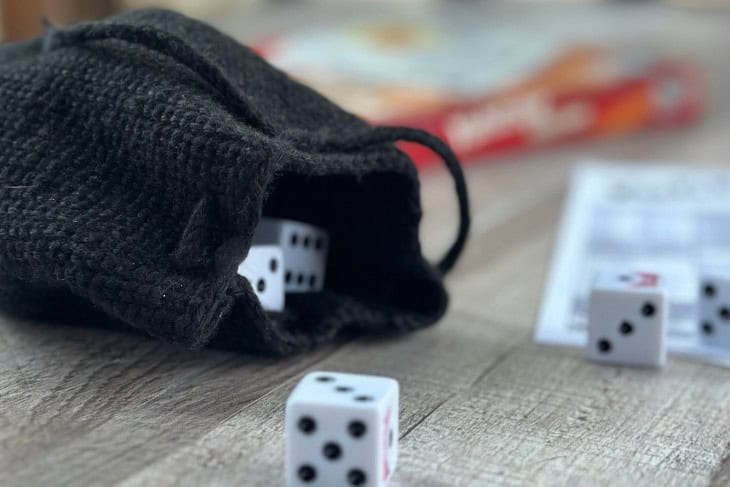
Dice bag, gemstones bag, trinkets bag… whatever you call it and whatever you’re carrying around in it, this adorable small drawstring pouch is a free crochet pattern and you’re going to love it!
Drawstring Pouch Crochet Pattern
My oldest likes to collect gemstones. He hand selected each one in his collection and has a growing assortment of colors, shapes, and sizes. Now that he’s got quite literally a handful, I thought it was time to make him a nice, sturdy, stylish little drawstring pouch for keeping them all in one place.
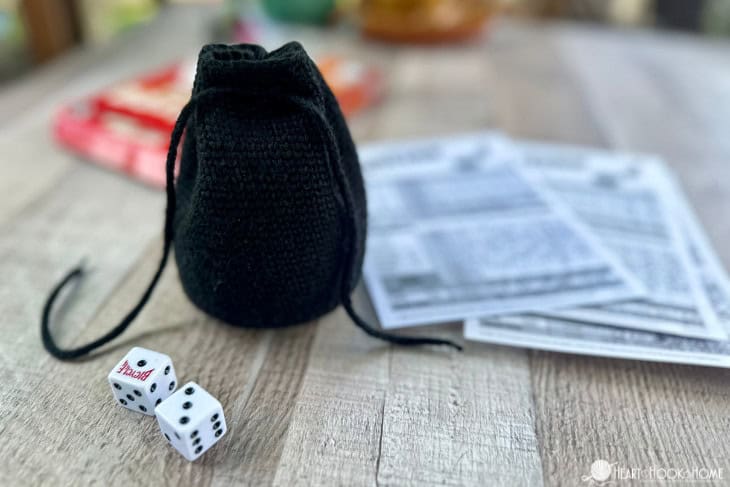
This little pouch crochet pattern would be great used as a “dice bag” for game nights. We love to play Yahtzee around here and it’s also a great game for taking it on family vacation! Small and easy to pack, and as long as you have a hard surface you can play it just about anywhere. Especially when you carry the die in a fancy little drawstring bag that you made yourself! 😉🧶
For this pattern I tested a couple different yarns. For the black (original) version I used Comfy Fingering and I absolutely love the feel of the fabric it created.
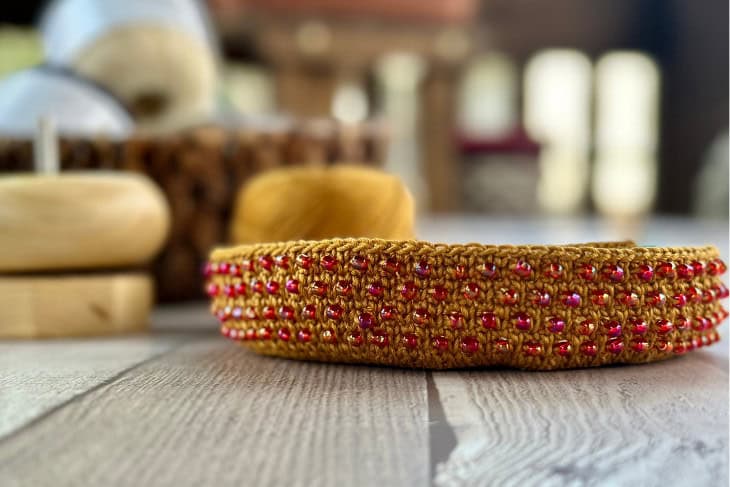
Then I tried one using Curio #3 with a size 3.5mm hook AND adding size 6/0 seed beads. It had been a while since I had crocheted with beads and I had to scratch that itch! In fact there is a third, much larger, beaded bag using Curio #3 in the works. I’ll share that with you when I’m finished! You can, of course, leave the beads off entirely.

Great yarns for this drawstring pouch pattern would be Comfy Fingering, Curio #3, Hobbii’s Rainbow 8/4 cotton, Lion Brand Mandala String yarn, Animation mercerized cotton (TONS of new colors!), or any other size 3 or size 5 crochet thread.
One thing I love about this drawstring bag is that I used the most sturdy crochet stitch around. The Waistcoat stitch makes for a very dense crocheted fabric. If we’re carrying around rocks or playing die, or anything with weight, we want to be certain that the stitches will not stretch out. This is also the reason we are using a cotton yarn. The Curio #3 is mercerized for strength, so that fabric is as strong as it gets!
I also like to use the Waistcoat stitch especially when crocheting with beads in the round because the stitches always line up directly on top of each other. There is no guessing on where to place the next bead when they’re all in a nice and tidy little row!
Tips for adding beads to your drawstring pouch:
Always separate each bead row/round with a row/round of single crochet stitches. This helps to keep the spacing even.
In the photos for my drawstring pouch I placed one bead every other stitch for several rounds, then every 4th stitch for a few rounds, then every 7th stitch for a few rounds. I maintained that spacing until I ran out of beads. I do like the portion at the top with no beads as well. I think it finishes it off nicely and cleanly!

For more help with adding the beads, you’ll want to check out this crocheting with beads tutorial. I used the pre-string method #2 referenced in the video and I couldn’t be happier with the result. If you love the look of this beaded bag, you should check out my Cross Body Bead Bag pattern!

Grab the ad-free, printable version of this pattern on Ravelry, Etsy, or right here in the Heart Hook Home Blog Shop. Thank you!
Materials:
Comfy Fingering (size 1/fingering weight cotton – see other versions/yarn suggestions above)
-approx. 110 yards (as written, incl drawstring)
Crochet hook in size 2mm
6/0 seed beads (optional)
Gauge: 25 sts x 36 rows = 4” square using Waistcoat
Pattern Notes:
Pattern written using US terms.
If you need help reading a crochet pattern, make sure you head over here and check out this detailed post.
Wanna save this for later?
Magic circle alternative = ch-4, sl st to first ch made to form circle.
If using size 3 crochet thread (such as Curio #3) you’ll want to use a size 3.5mm crochet hook.
Wc = waistcoat stitch = a variation of the single crochet. Find a full waistcoat stitch tutorial here.
Pattern:
Round 1: Magic Circle, Ch-2 (does not count as a stitch), 12 dc in circle. Join to top of first st. (12)
Round 2: Ch-1 (does not count as a stitch), 2sc in each st around. Do not join. Mark first st of each round with st marker throughout. (24)
Round 3: Wc in each st around. (24)
Round 4: * Wc in next, 2Wc in next * repeat between * * around. (36)
Round 5: repeat round 3 (36)
Round 6: * Wc in next 2 sts, 2Wc in next * repeat between * * around. (48)
Round 7: repeat round 3 (48)
Round 8: * Wc in next 3 sts, 2Wc in next * repeat between * * around. (60)
Rounds 9 – 44: Wc in each st around. (60)
Round 45: * wc in 5 sts, ch-1, sk-1 * repeat between * * around. (60)
Round 46: * wc in 5 sts, sc in ch * repeat between * * around. (60)
Rounds 47 – 50: Wc in each st around. (60)
To finish off: Wc in next st, sl st in next 3 sts, fasten off and weave in all ends.
Drawstring: Make a drawstring using your preferred method (Lucet Fork, iCord, Romanian Cord, etc) that is approximately 12” long. (Longer if desired)
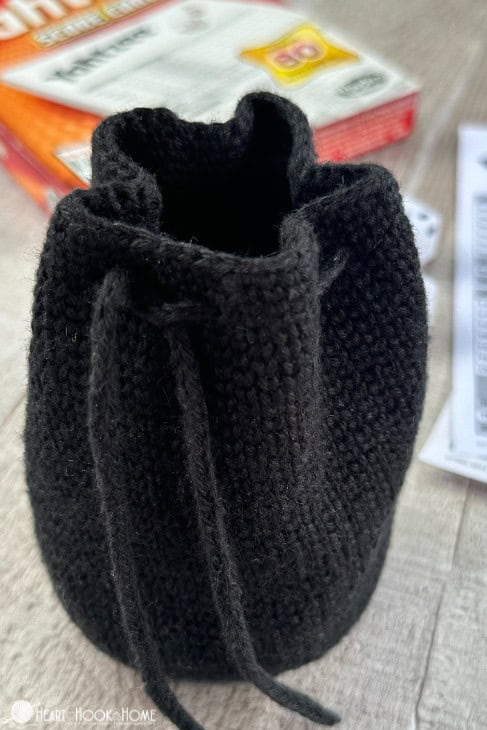
Feed through the holes on the bag. Tie like a shoelace. That’s it! If you use a worsted weight cotton like Dishie with a larger hook, the bag will come out larger.
If you want to size up this bag to make a small backpack etc, simply continue increasing by 12 stitches every other round as we did up to round 8, until you get to the size desired. I can’t wait to see yours! Be sure to tag @HeartHookHome across all social media, or share in the Heart Hook Home Crochet Community on Facebook.
More fun patterns:
Personal Pouch: Free Crochet Pouch Pattern
Yoga Mat Bag Free Crochet Pattern
Gemstone Holder: Free Crochet Pattern


3 Comments