Layering Hooded Vest Crochet Pattern
This post may contain affiliate links, meaning that I may earn a small commission if you make a purchase. See our disclosure policy for more information.


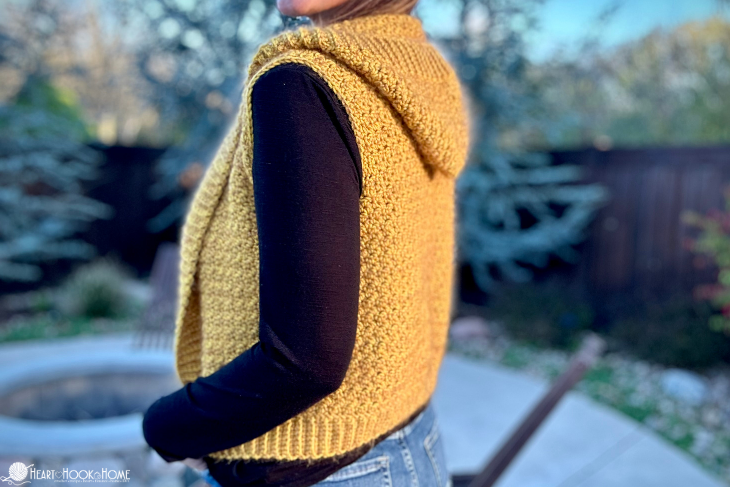
During transitional months I like to wear alllll of the clothing layers at once. I am notoriously cold for half of the year, which means I have a new favorite accessory… the Hooded Vest for Layering! This is the perfect thing to add to the wardrobe of the constantly cold.

Layering Hooded Vest Crochet Pattern
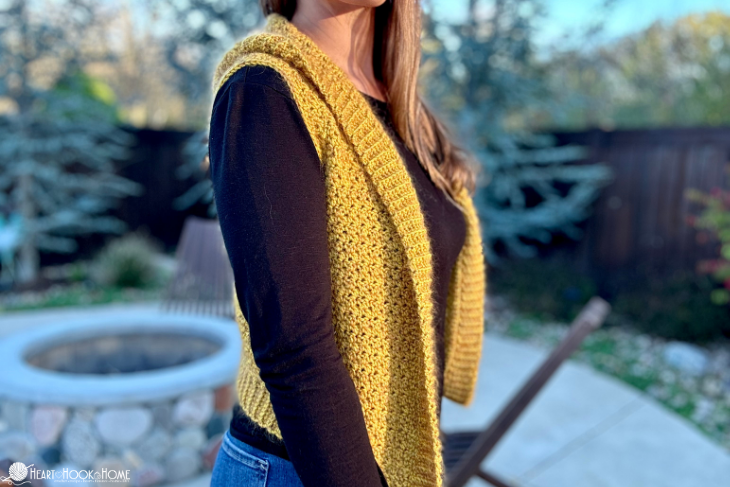
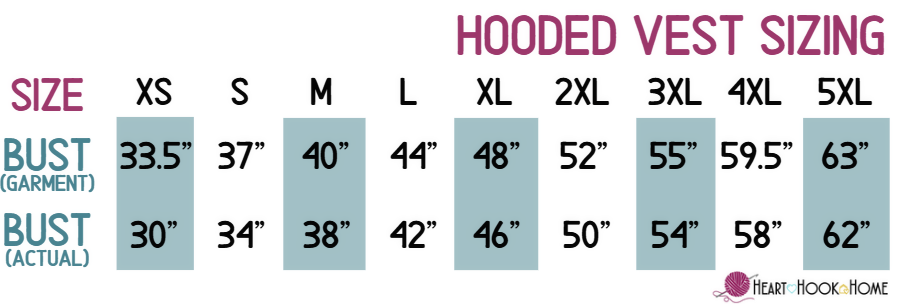
This hooded layering vest is so simple and very easy to work up. No sleeves means that we are finished with the design before you know it! This layering vest pattern is size inclusive with sizes ranging from XS through 5XL.
When designing this layering pattern, I wanted a vest that I can throw on over my shirt and under my jacket. This gives me not only a hood that I can use to keep my head and ears warm if needed, but it looks cute too!

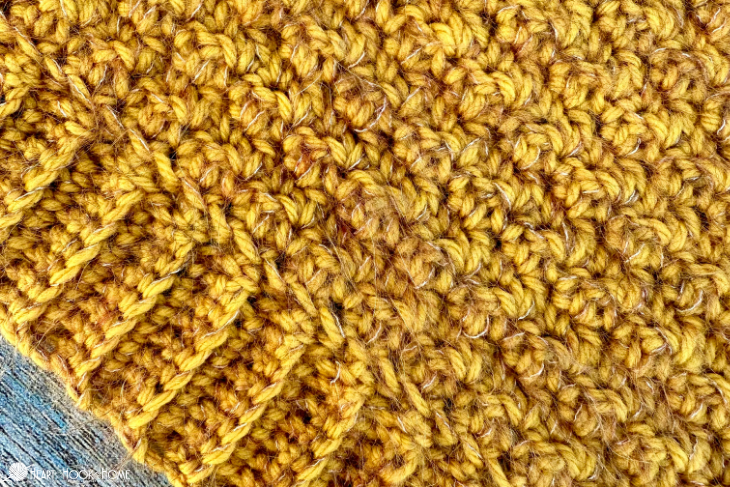
For this pattern we are using one of my favorite crochet stitches: the Lemon Peel stitch. This stitch is a beginner-friendly stitch consisting of only the single crochet and the double crochet. An easy stitch to learn, to memorize, and to crochet.
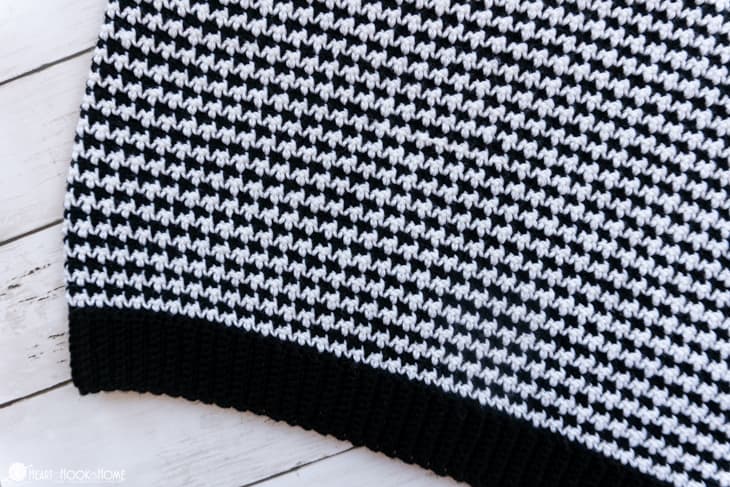
The Lemon Peel stitch is also what is used to create the stunning Houndstooth Stitch pattern, all you need to do is change colors each row. Talk about a snazzy vest!
For my versions of the vest I tried various yarns and combinations of yarns. My favorite is the gold version with uses the Swish Worsted yarn, a 100% Merino wool, with the lovely Mohair/Silk blend called Aloft in a complementing colorway (Brass Heather). Doesn’t these colors just bring out the best of each other?! Love them!
Of course you can use just one single strand of any worsted weight yarn. The added thickness of the Aloft is negligible to the gauge or to the sizing of the vest.
Great worsted weight yarn options include Swish Worsted (pictured in “Honey”), Mary Maxim Starlette, Premier’s Stitch Please, Herrschners Worsted, Red Heart Super Saver, or any of these worsted weight yarns from Lion Brand.

And now we get to the Layering Vest pattern…

Grab the ad-free, printable version of this pattern on Ravelry, Etsy, or right here in the Heart Hook Home Blog Shop. Thank you!
If you need help reading a crochet pattern, make sure you head over here and check out this detailed post.
Materials:
Worsted Weight Yarn (Brava Worsted and Swish Worsted pictured, specific yarn suggestions above)
-approx. (700, 750, 800, 875, 975, 1075, 1150, 1250, 1350) yards
If desired, pair with a complimenting color of Aloft (Mohair/Silk blend) yarn.
Crochet hook in size J/6mm or size needed to obtain gauge
Gauge: 12 sts x 10 rows in 4” square using the Lemon Peel Stitch
Pattern Notes:
Pattern written using US terms.
The chain at the beginning of each row does not count as a stitch.
Odd numbered rows are the right side.
For this pattern we are using the Lemon Peel Stitch. You can find a tutorial on this stitch here.
Sizing: (XS, S, M, L, XL, 2XL, 3XL, 4XL, 5XL)
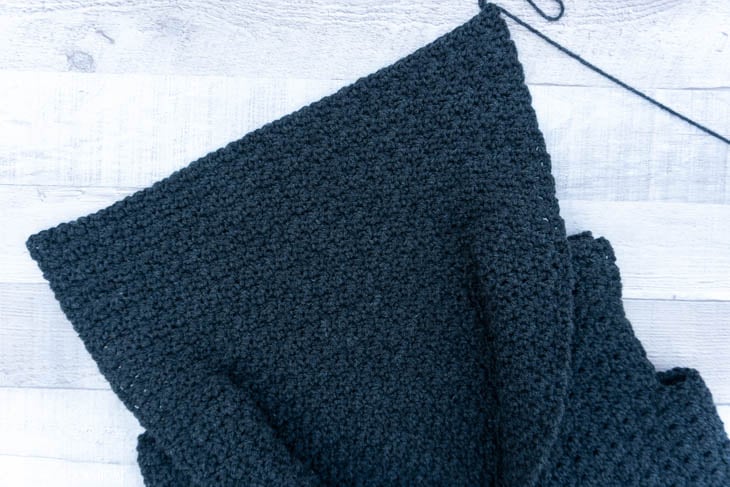
Torso:
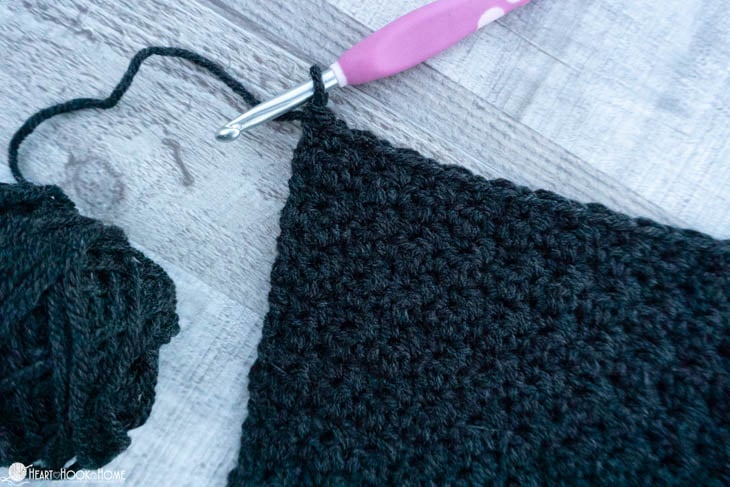
Row 1: Fsc-(90, 100, 110, 120, 130, 140, 150, 160, 170) or you could ch-(91, 101, 111, 121, 131, 141, 151, 161, 171), sc in 2nd ch from hook and in each to end.
Rows 2 through (28, 30, 30, 30, 28, 28, 28, 30, 30): Ch-1, turn, * sc in next, dc in next * repeat between * * to end. (90, 100, 110, 120, 130, 140, 150, 160, 170)
*if you would like your vest longer add extra rows here.
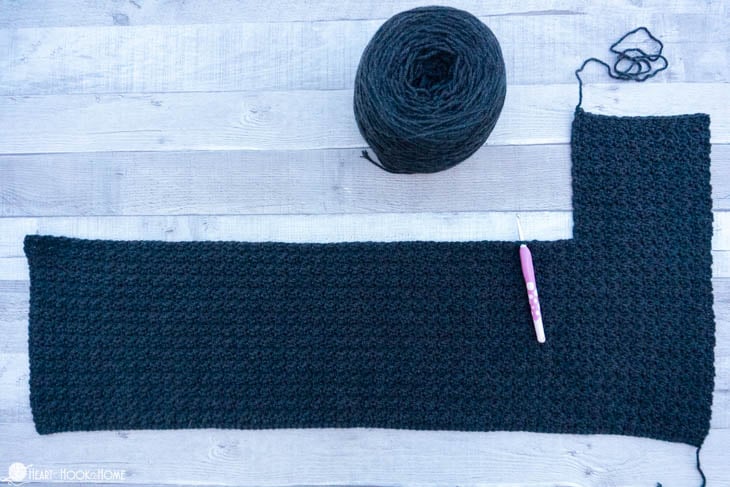
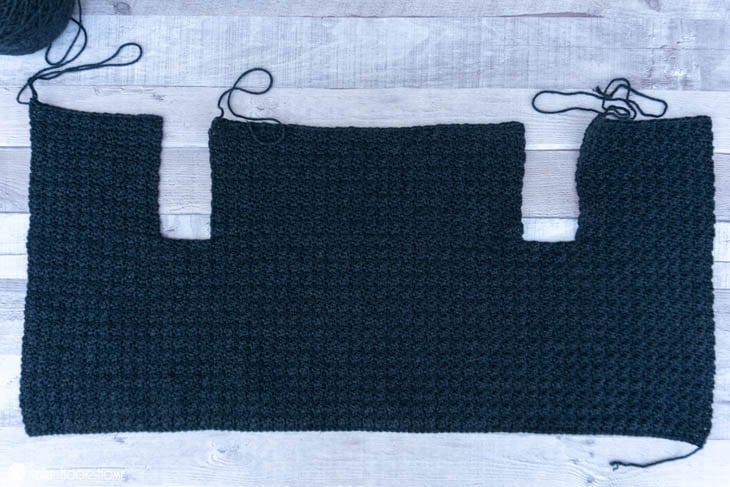
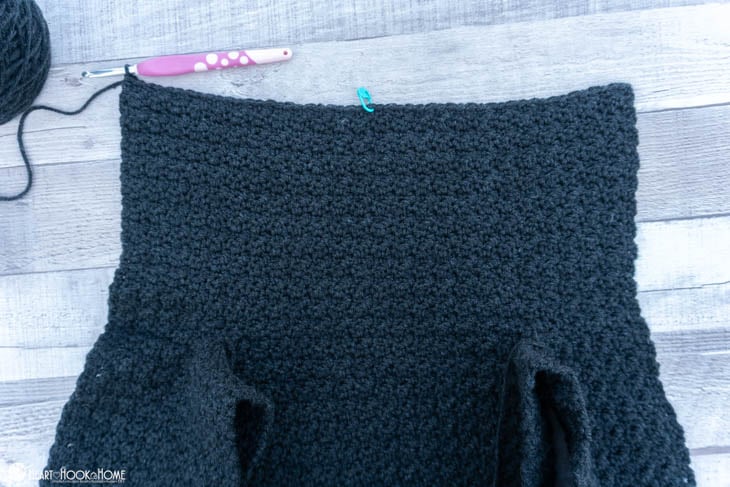
Right Panel:
Row (29, 31, 31, 31, 29, 29, 29, 31, 31): Ch-1, turn, * sc in next, dc in next * repeat between * * (8, 9, 10, 11, 12, 14, 14, 16, 18) more times. (18, 20, 22, 24, 26, 30, 30, 34, 38)
Rows (30, 32, 32, 32, 30, 30, 30, 32, 32) through (45, 47, 47, 47, 47, 49, 49, 53, 53): repeat row 2 (18, 20, 22, 24, 26, 30, 30, 34, 38)
Fasten off leaving long enough tail for seaming shoulders.
Center Panel:
Leave (4, 6, 8, 10, 12, 13, 17, 18, 19) sts open and attach in next st…
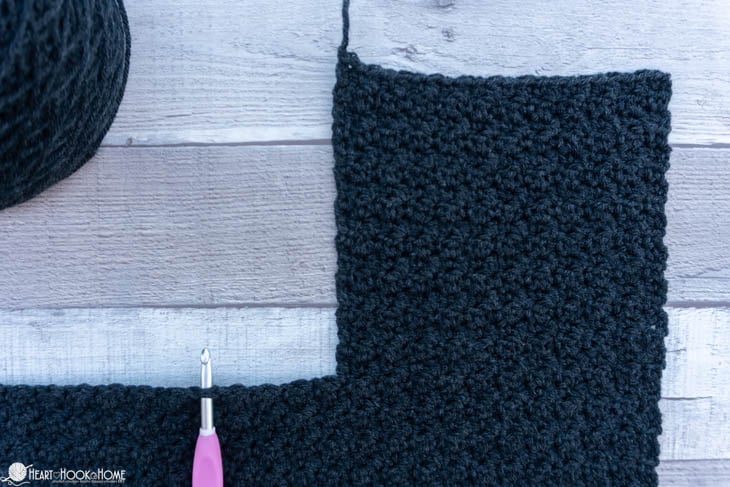
Row (29, 31, 31, 31, 29, 29, 29, 31, 31): Ch-1, sc in same as join, dc in next * sc in next, dc in next * repeat between * * (21, 22, 23, 24, 25, 25, 26, 26, 26) more times. (46, 48, 50, 52, 54, 54, 56, 56, 56)
Rows (30, 32, 32, 32, 30, 30, 30, 32, 32) through (45, 47, 47, 47, 47, 49, 49, 53, 53): repeat row 2 (46, 48, 50, 52, 54, 54, 56, 56, 56)
Wanna save this for later?
Fasten off leaving long enough tail for seaming shoulders.
Left Panel:
Leave (4, 6, 8, 10, 12, 13, 17, 18, 19) sts open and attach in next st…
Row (29, 31, 31, 31, 29, 29, 29, 31, 31): Ch-1, sc in same as join, dc in next * sc in next, dc in next * repeat between * * to end. (18, 20, 22, 24, 26, 30, 30, 34, 38)
Rows (30, 32, 32, 32, 30, 30, 30, 32, 32) through (45, 47, 47, 47, 47, 49, 49, 53, 53): repeat row 2 (18, 20, 22, 24, 26, 30, 30, 34, 38)
Do not fasten off. Mark with st marker as we will pick back up using this yarn to make the hood after construction.
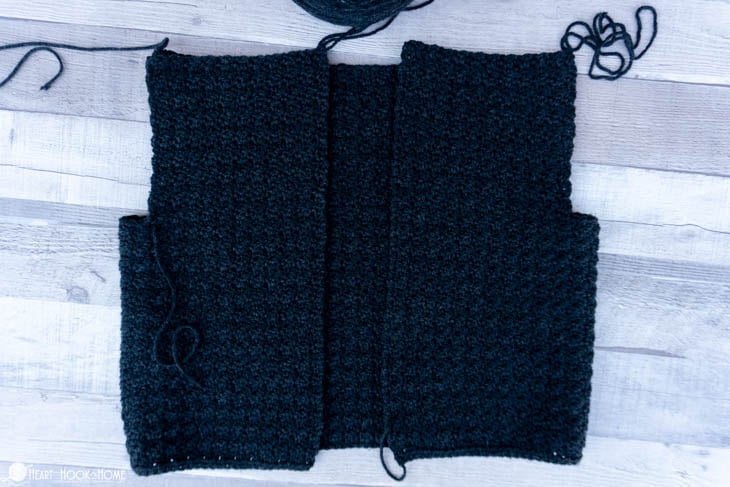
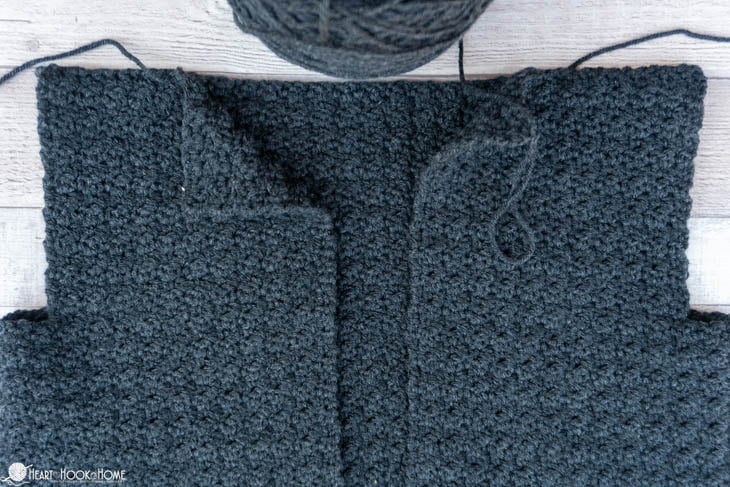
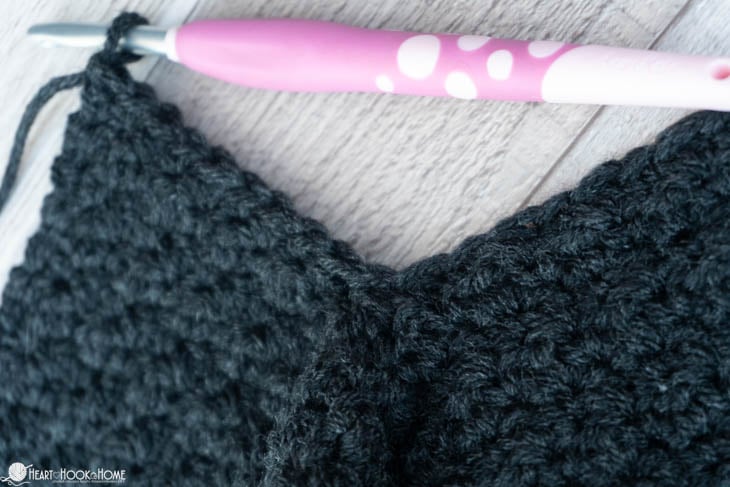
Construction:
Fold right and left panels in toward the center. Looking at “right side” of the cardigan, seam the shoulder stitches using your preferred method for the width of (8, 10, 12, 12, 14, 16, 16, 18, 20) sts.
This should leave (30, 28, 26, 28, 26, 22, 24, 20, 16) sts open for neck across the back and (10, 10, 10, 12, 12, 14, 14, 16, 18) sts on each front.
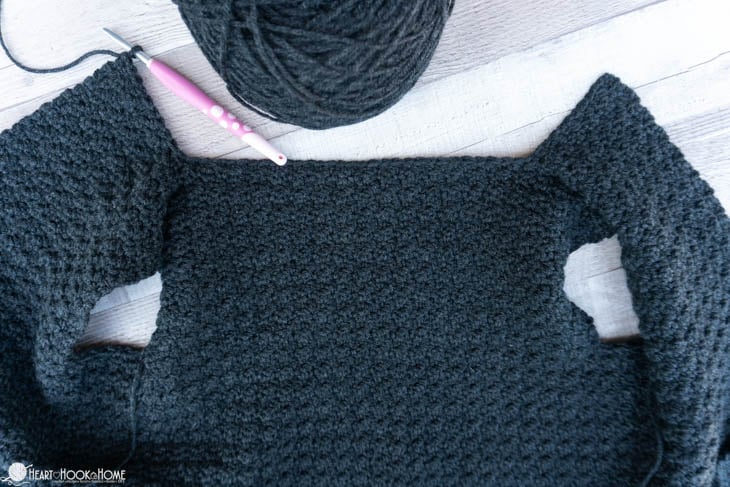
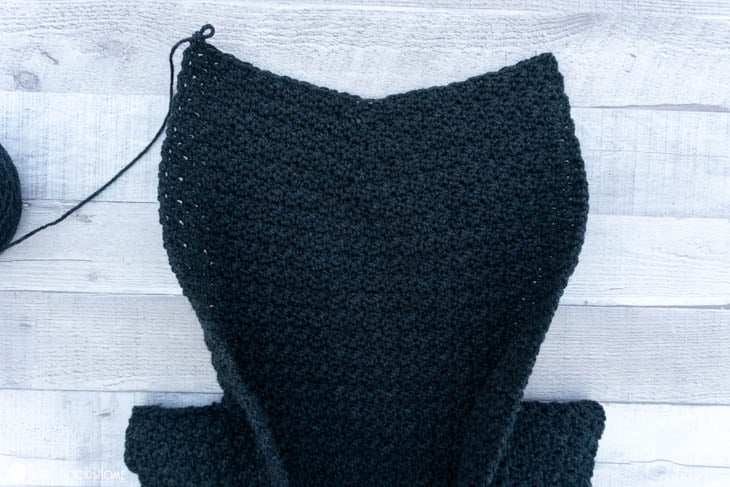
Hood:
Where still attached…
Row 1: Ch-1, turn, * sc in next, dc in next * repeat between * * (4, 4, 4, 5, 5, 6, 6, 7, 8) more times, sc3tog (using the two sewn sts of shoulder and the first st of “neck” which should be a sc), dc in next st, repeat between * * (14, 13, 12, 13, 12, 10, 11, 9, 7) times across neck, sc3tog (using the two sewn sts of shoulder and first “front” st), dc in next st, repeat between * * to end. (50, 48, 46, 52, 50, 50, 52, 52, 52)
Rows 2 through 22: Ch-1, turn, * sc in next, dc in next * repeat between * * to end. (50, 48, 46, 52, 50, 50, 52, 52, 52)
*place stitch marker in center-most stitch.
Row 23: Ch-1, turn, * sc in next, dc in next * repeat between * * to center of hood, sc3tog, dc in next st, repeat between * * to end. (48, 46, 44, 50, 48, 48, 50, 50, 50)
Row 24: repeat row 2 (48, 46, 44, 50, 48, 48, 50, 50, 50)
Rows 25 through 34: alternate previous two rows (ending with 38, 36, 34, 40, 38, 38, 40, 40, 40) sts
Fasten off leaving a long enough tail for seaming hood shut. Fold hood in half and sew stitch for stitch using your preferred method.

Bottom Edging:
Starting at the bottom left corner (as if you were wearing it), sc across the entire bottom, 3sc in corner st, rotate to work along the inside edge. Sc evenly up row ends the entire front opening (including the hood) and down to the opposite corner, sc in same as first st. Join to top of first st.
Row 1: Ch-(9, 9, 9, 10, 12, 13, 13, 15, 15), sc in 2nd ch from hook and in each to end. Sl st to next open st on vest bottom. (8, 8, 8, 9, 11, 12, 12, 14, 14)
Row 2: Sl st to next st on vest bottom, turn, sc in BLO in each st to end. (8, 8, 8, 9, 11, 12, 12, 14, 14)
Row 3: Ch-1, turn, sc in BLO of each st to end. Sl st to next open st on vest body. (8, 8, 8, 9, 11, 12, 12, 14, 14)
Rows 4 through (90, 100, 110, 120, 130, 140, 150, 160, 170): Alternate previous two rows around the entire bottom of the vest. Do not fasten off. Your hook should be at the outermost corner of the bottom right (if you were wearing the vest)
Inner Edging:
Rotate to work up inside edge…
Row 1: Ch-(9, 9, 9, 10, 12, 13, 13, 15, 15), sc in 2nd ch from hook and in each to end. Sl st to next open st. (8, 8, 8, 9, 11, 12, 12, 14, 14)
Alternate rows 2 & 3 of edging around the entire inside edge.
When you reach the bottom left (where you started) fasten off and weave in all ends.
Armhole Opening:
Attach at bottom of armhole opening. Single crochet around entire opening. Fasten off using Invisible Join and repeat on other side.

I hope you love your vest and that you wear it all the time. What colors will you make for yours? I can’t wait to see! Be sure to tag @HeartHookHome across all social media, or share in the Heart Hook Home Crochet Community on Facebook.
More free crochet patterns:
Marvelous Moss Hooded Tunic Crochet Pattern
Scrumptious Scoodie: Hooded Scarf Free Crochet Pattern


22 Comments