I’ll Pine for You Cowl Free Crochet Pattern
This post may contain affiliate links, meaning that I may earn a small commission if you make a purchase. See our disclosure policy for more information.
Have you been looking for the perfect project for the Alpine Stitch? This is a new favorite stitch of mine, and today we’re going to use a variation of the stitch to make a cowl, the I’ll Pine for You Cowl!
Cowl Crochet Pattern
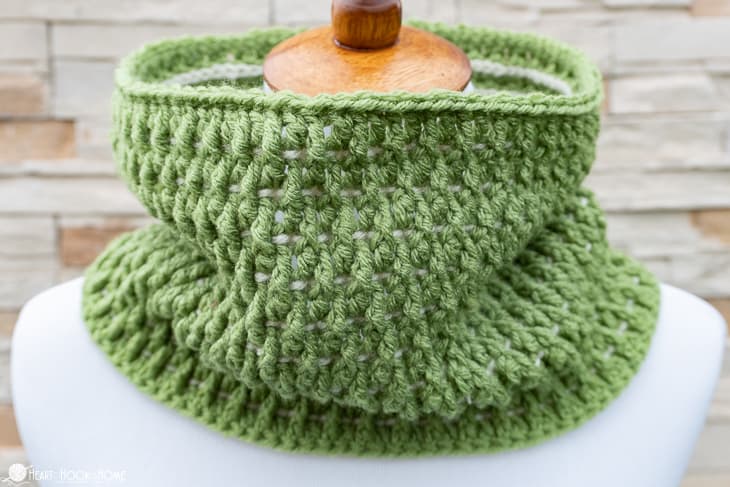
We are using a variation of the Alpine Stitch, meaning that we are substituting a row of slip stitches for the typical single crochet row as seen in “normal” Alpine Stitch patterns. The effect, when worked in rounds, is just gorgeous and makes the cowl reversible. I love that little peek of color!

If you’re familiar with Heart Hook Home patterns, you know that I try to be as punny as possible with my design names. I think I snorted when I came up with this one! I’ll Pine for your Alpine Cowl! 😀

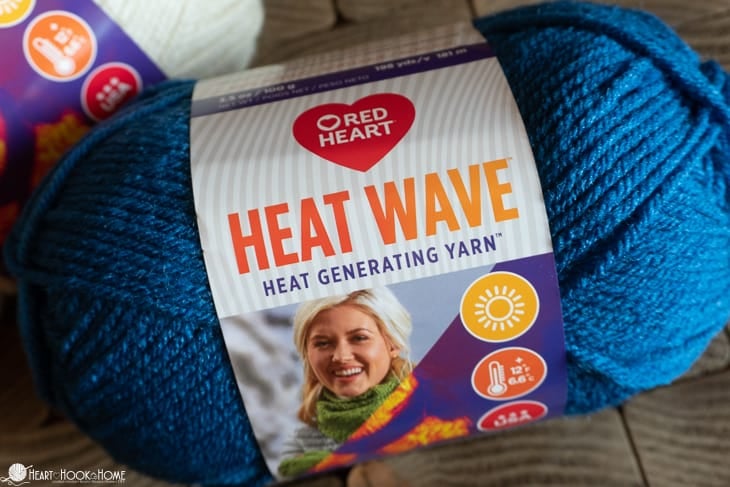
We are using Red Heart’s Heat Wave yarn (discontinued) for this project. This is a medium, worsted weight yarn that gets physically warmer (up to 12° warmer) when exposed to UV rays – even if its cloudy outside! When you come back in from outdoors, the yarn cools quickly. This cowl will be perfect for cold football games, walking the dog, or other extended periods of outdoor time.

I’ll Pine for You Cowl
Materials:
Red Heart Heat Wave Yarn (discontinued) (or any other worsted weight/Aran yarn)
-Color A (approx. 210 yards)
-Color B (approx. 40 yards)
Crochet hook in size H/5mm

Gauge: 14 sts in 4”
Gauge Pattern:
Row 1: Ch-19, dc in 3rd ch from hook and in each ch to end. (17)
Row 2: Ch-1, turn, sl st in each st to end. (17)
Row 3: Ch-2, turn, dc in first stitch, * fptc around the next dc two rows below, dc in next st * repeat between * * to end. (17)
Row 4: Ch-1, turn, sl st in each st to end. (17)
Row 5: Ch-2, turn, dc in first 2 sts, * fptc around the next dc two rows below, dc in next st * repeat between * * six more times. Dc in last st. (17) Measure width. Should have ~14 sts in 4”.
Finished Dimensions: ~ 28” total circumference and ~ 8” tall
Pattern Notes:
Use Color A for the double crochet/post stitch rows and Color B for the slip stitch rows. Carry the opposite yarn at each row’s join.
The chain at the beginning of each row does not count as a stitch.
If you need help reading a crochet pattern, make sure you head over here and check out this detailed post.
Stay loose on the slip stitch rows.
Fdc = Foundation double crochet
Fptc = Front post treble crochet
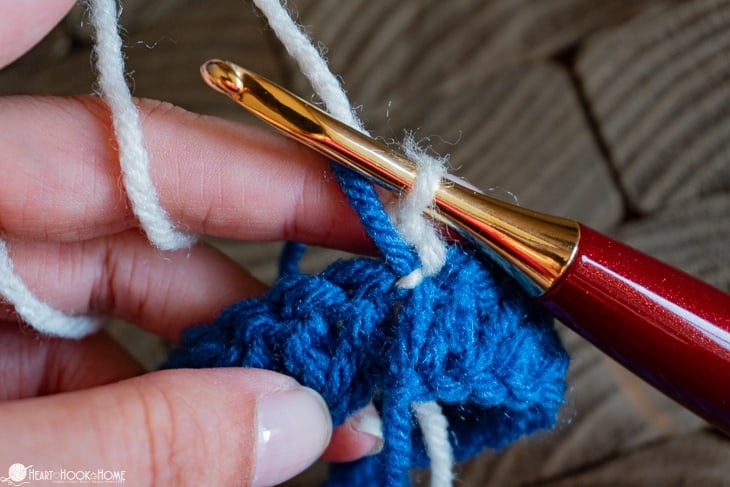
When working the dc/fptc rows go into the TOP of the dc/fptc from two rows down. (So the sl st row remains untouched – see photo in pattern for clarification)
The dc/fptc rows are “right side” and the sl st rows are “wrong side”.
The join/seam looks nicer if you pull the non-working yarn to the back at each join, like this:
Wanna save this for later?
Pattern:
Using Color A…
Round 1: Fdc-98, join to first dc without twisting. (or Ch-98, join with sl st to first ch without twisting chain, ch-2, dc in each ch around.) Using Color B, join to top of first dc with sl st. (98)

Round 2: Ch-1, turn, loosely sl st in each st around. Using Color A, join to top of first sl st with sl st. (98)

Round 3: Ch-2, turn,* dc in next, fptc around dc two rows down * repeat between * * around. Using Color B, join to top of first dc with sl st. (98)

Proper stitch placement on odd numbered rows:

Round 4: repeat row 2 (98)
Continue alternating colors each row for duration of pattern…
Round 5: Ch-2, turn, * fptc around dc from two rows down, dc in next * repeat between * * around. Join to top of first fptc with sl st. (98)
Rounds 6 – 21: repeat rows 2 – 5 four more times (98)
Round 22: repeat row 2 (98)
Round 23: repeat row 3 (98)
Round 24: repeat row 2 (98)
Round 25: repeat row 5 (98)
Row 26: (stay on Color A this time) repeat row 2 (98)
Fasten off and weave in all ends. If your seam looks a little wonky (the more your colors contrast the more obvious it will be), you can leave a longer tail when fastening off and sew the post stitches together to better hide it. I find that helps tremendously but is, of course, not necessary.

That is it! I hope you love how quick and easy this pattern is to work up. Will you wear yours with the slip stitch row facing inside or outside? I love that this cowl is reversible! ♥
More free patterns:
Bear-ly Scary: A Bear Beanie Free Crochet Pattern
Tweed and True Baby Blanket Free Crochet Pattern


4 Comments